There are a few settings which are unique to the Wiki activity within LEO. The settings you select will alter the way your students are able to interact with the Wiki activity. These are explored in length below:
General
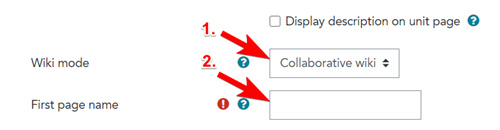
1. Wiki mode
The dropdown menu next to 'Wiki mode' gives you two options to select from:
- Collaborative wiki - all students within your LEO unit work together in the same Wiki
- Individual wiki - Each student will have their own Wiki that they will work on individually
2. First page name
The name you put here will be the first page of your Wiki. It is a compulsory field (marked with a red asterisk). NOTE: The name you enter into this field can't be edited or changed later so watch out for typos!
Format
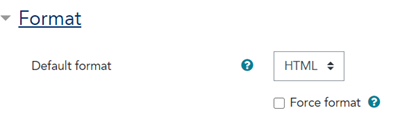
Default format
The dropdown menu next to 'Default format gives you three options to select from:
- HTML - HTML is the standard editing screen that you have accessed in Quiz, Page, and Lesson activities. This is the default option. It is recommended that you select HTML, unless you are already familiar with the other available options.
- Creole - Creole is a popular Wiki editing language. If you select 'Creole' then a small editing toolbar will appear.
- NWiki - NWiki is another Wiki editing language.
Force Format
If you select this check box then students will be unable to change the format from the default that you selected (above).