Using proper headings in wiki pages is important, not only so that content is able to be read easily by your fellow students and your tutors, but also so that the Table of Contents for each page generates properly.
About headings and page structure
There are pre-made headings you can use in your content (levels 1 to 6), which you can select using the Format drop-down box in the HTML editor window. By default, when you type in content, it will be entered as a paragraph, which is just the default state for regular text. When you change this to a heading format, this whole section of text becomes a heading.
Apart from the obvious visual difference in text size and weight between the heading sizes, the wiki page reads headings as separate sections and creates navigation based on the hierarchy on these age headings.
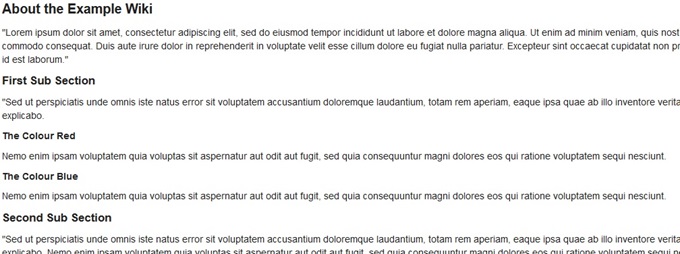
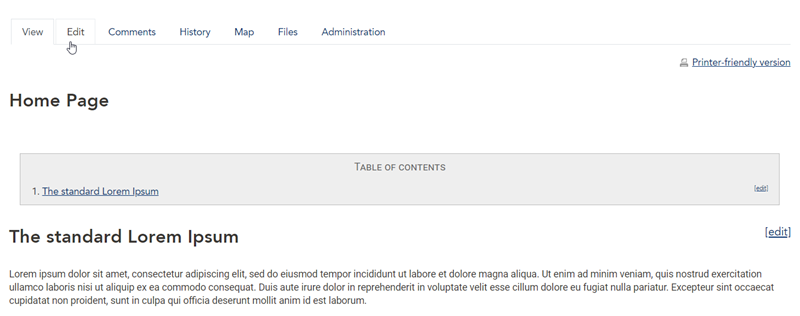
For example, this section of content on an example wiki page uses several headings to break up the text:
If you structure your headings correctly, you can create a hierarchy of sections within the page. In the image below, you will see how the headings used in the image above create an automatic menu for the page, with each level of heading indented and numbered sequentially, giving structure and definition to your content. On the left is the heading level used (just for reference), and on the right is the actual menu with text used in headings.
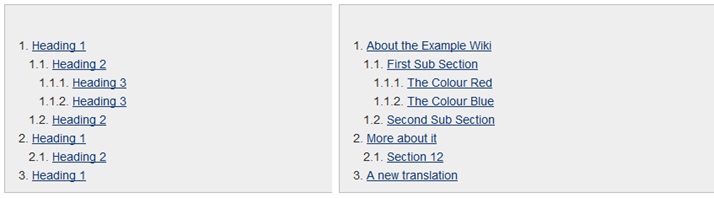
You should start with your main page topics as Heading 1, then use the other heading levels under this if you require sub-topics of each main topic. Use heading 2 under a heading 1, a heading 3 under a heading 2, and so on.
How to create a heading
1. Type your content into the HTML editor just using the default paragraphs, placing the heading text on its own line. At the end of a section of content, use the 'Enter' key to start a new line, type your heading text, then press 'Enter' again and continue typing your content.
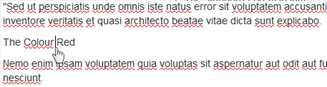
In the image above you will see the section of text with the intended heading "The Colour Red" just as simple paragraph text on its own line. It is much easier to focus on content to begin with, then go back and add the correct formatting.
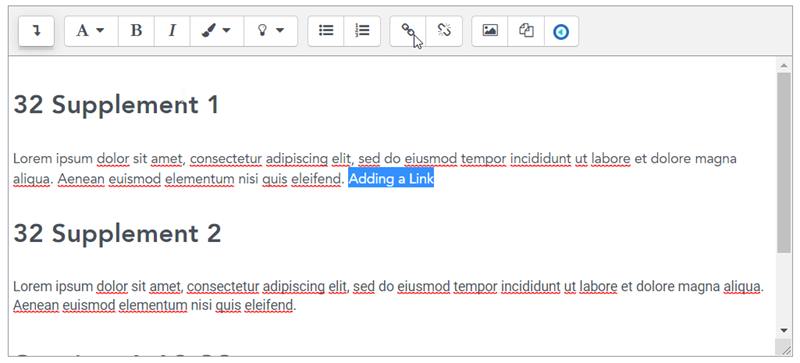
2. Click anywhere inside the intended heading text to place the cursor inside the heading.
3. Click the 'Format' dropdown box (which should by default read "Paragraph") and choose the desired heading level.
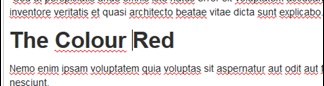
You will see the whole section of text now become a heading instead of a paragraph, as in the image above. When you save this content, this heading will become a clickable link in the Table of Contents for this page, along with all other headings used on this page.
You do not need to highlight the section of text to convert it to a heading. The entire text block will be converted from a paragraph to a heading. Once it is a heading, you can easily click in the text section again and change it to a different heading size if you wish.
Note: the way headings display visually in the HTML editor is not necessarily how they will display in View mode. Save your changes and return to View mode to see how your page content looks and is structured, then edit again as desired. Your tutor may have specific requirements around organising your wiki content.


 :
: