Images can be added in content you create in the text editor in LEO using the Insert/edit image button.

Images you add should be .jpg, .gif or .png format images.

How to insert an image in the text editor

  1. Position the cursor in the text editor where you want the image to be inserted (either click at the point where you want to insert the image or press Enter at the end of a line of text to move the cursor to a new line).
  2. Click the Insert/edit image button:
    The insert image button
  3. To upload an image, click the Browse repositories button.
  4. Click the Upload a file button in the left column, then click the Browse button:
    Select the browse button
  5. Select the file from your computer. When selected, you should see the name of the file displayed next to the Browse button.
  6. Click the Upload this file button.
  7. Add a description of the image in the description text box that describes the image for screen readers, or click the This image is decorative only checkbox.
  8. Click the Save image button to insert the image into the text editor.

How to modify the image properties

  1. Click the image to select it.
  2. Click the Insert/edit image button.
  3. Modify the settings as required, then click the Save image button.

Generally we recommend not repositioning images as it may cause problems when displaying your content.

Typically an image will push all surrounding content above or below it, depending on where it is positioned. You can change this to "left" or "right" to make the image sit to the left or right of the page and have the text wrap around it. This is often referred to as "floating" an image.

How to float images to the left or right

  1. Click the image in the text editor to select it.
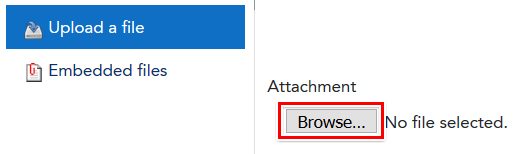
  2. Click the Insert/edit image button to open the image settings.
  3. From the Alignment dropdown box, select Left or Right.
  4. Click the Save image button to save your changes.

You should see the image move to the left or right, and any surrounding content will wrap around the image.

How to add padding to an image

Images that are added on their own line (paragraph) will have space automatically added to the top and bottom.

You can add some space around a floated image so that surrounding content doesn't butt up against it, which can improve the readability of your page. You can add vertical space (top and bottom), horizontal space (left and right), or both.

  1. Click the Show more buttons button to reveal the extra formatting options, then click the HTML button.
  2. Find the code for the image. If you're not familiar with HTML, you will be able to find the image code by looking for a green <img> tag, followed by the image location in red (the file name is underlined in the example below):
    <img src="https://leotest39.androgogic.com.au/draftfile.php/1205215/user/draft/36426013/activitystarsandinfo.jpg"
  3. After this line of code, add the hspace and vspace parameters, such as in the following example:
    An example of image code with h space and v space
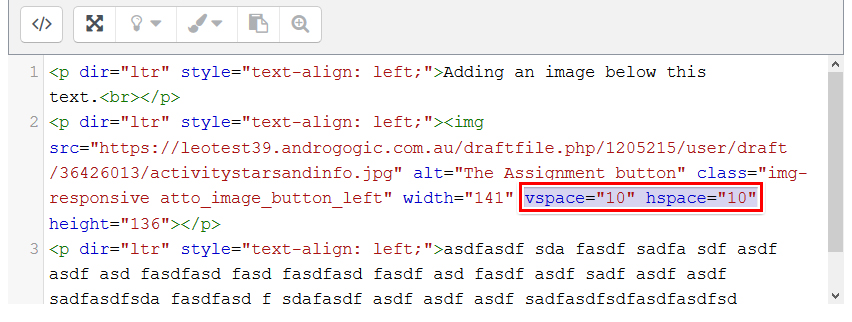
    • vspace = "10" to add 10 pixels of space to the top and bottom
    • hspace = "10" to add 10 pixels of space to the left and right
  4. Click the HTML button again to return to the normal view. You should now see space between the image and the other content.
  5. Save your changes and preview your content to make sure everything looks correct.


It is good practice for you to edit your images to the appropriate size before you upload them to LEO. While you are able to edit how your image displays using the options available to you in the image settings, the quality of images scaled up or down may suffer. Some internet browsers can be unpredictable and may still display the image at full size. This is particularly a problem if you upload a large image, and then resize it to icon size for use within a paragraph.

Page last updated on 07/01/2021

Service Central

Visit Service Central to access Corporate Services.


Other service contacts


Learning and Teaching
Library
Request Something

Make a request for services provided by Corporate Services.


Request something
Knowledge base

Find answers to frequently asked questions 24/7.


See Knowledge Base